Who is this guide for
I have put this guide together to help younger people understand the basics of 3D printing. It’s a no-nonsense approach that makes easy reading of the latest technologies. By the end of this guide you’ll have a clear understanding of 3D printing and how to work with it.
You are going to learn how to find or create your own design files. You’ll also get to know the different types of 3D printers and printing materials. Keep reading to learn about the equipment and tools that’ll work best with your projects. If you have your own 3D printer that’s great, but you really don’t need one to print your objects in 3D (more on that later).

Getting to Know 3D Printing
First we heard about 3D printing, and then we saw what it could do on TV tech shows and YouTube videos. It was an exciting and impressive technology that’s for sure. Yet 3D printing was far too expensive back in its infancy for the average person to work with. As with all new technology, 3D printing has fallen in price and continues to fall as demand increases. What used to cost thousands of dollars is now available for a few hundred.
Although prices have fallen, it’s still expensive. Few parents are willing to spend hundreds of dollars on printers for their kids, no matter how amazing they are. The good news is that you don’t need a 3D printer to get into 3D printing. Today you can create remarkable 3-dimensional designs from the comfort of home. There are some really cool things that you can print in 3D, which we’ll look into later in this guide.
3D Printing – A Brief History
Have you ever heard of a man called Charles (Chuck) Hull? If you
haven’t don’t worry, you’re not alone. But anyone who’s passionate
about, or works in 3D printing will certainly know all about Chuck Hull.
Some even refer to him as the Thomas Edison of the 3D printing industry. He was the first ever person to build a 3D printer that was capable of printing an actual physical part. The rest— as they say —is history.
Other tech geeks soon came on board with this exciting new technology. They continued to develop the equipment and materials, making it easier to use and cheaper to buy. Thanks to their efforts, 3D printing is now available to us all. What you see today began way back in March 9, 1983—some 33 years ago at the time of writing. Like all great innovations, 3D printing has gotten better and more affordable with time. And as technology develops and demand persists, the prices continue to fall.
OK, let’s now take a step back and look at what 3D printing is exactly.
3D Printing 101
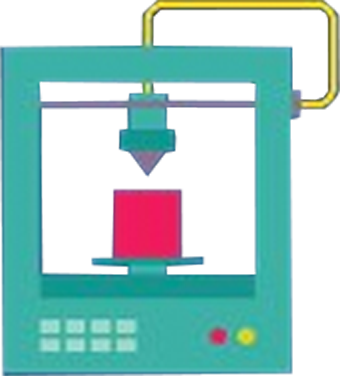
3D printing creates three-dimensional objects using clever devices simply called 3D printers. Before we get into that, let’s start by taking a look at a conventional printer. These common, machines print out text and images in 2D, or two-dimensional. A 2D printout has length and it has width, but it doesn’t have depth. In other words, it’s flat, like the text on this page, or a photograph.
OK, now think about a flat image on a page—anything you like. If you were to print it in 3D format, you would be using a special material, not regular ink or toner. On the first print, the special material raises the image above the surface of the file just a little. Put the same page through the same printing process many times over and each new printout adds yet another layer to the previous one. Every time this happens, the image gets higher and higher. After hundreds or thousands of reprints, that flat image transforms from a 2D image into a 3D object. You now have something you can pick up and hold in your hand. This is the basic concept of how a 3D printer actually works. It builds up layer after layer of the material until the image on the file becomes a physical 3D object.
Before You Can Print
Before you can print, you have to be able to tick three important boxes, in this order:
An object in your mind that
you want to print in 3D
A 3d model, which is a
two-dimensional digital file
to print from
Access to a 3D
printer
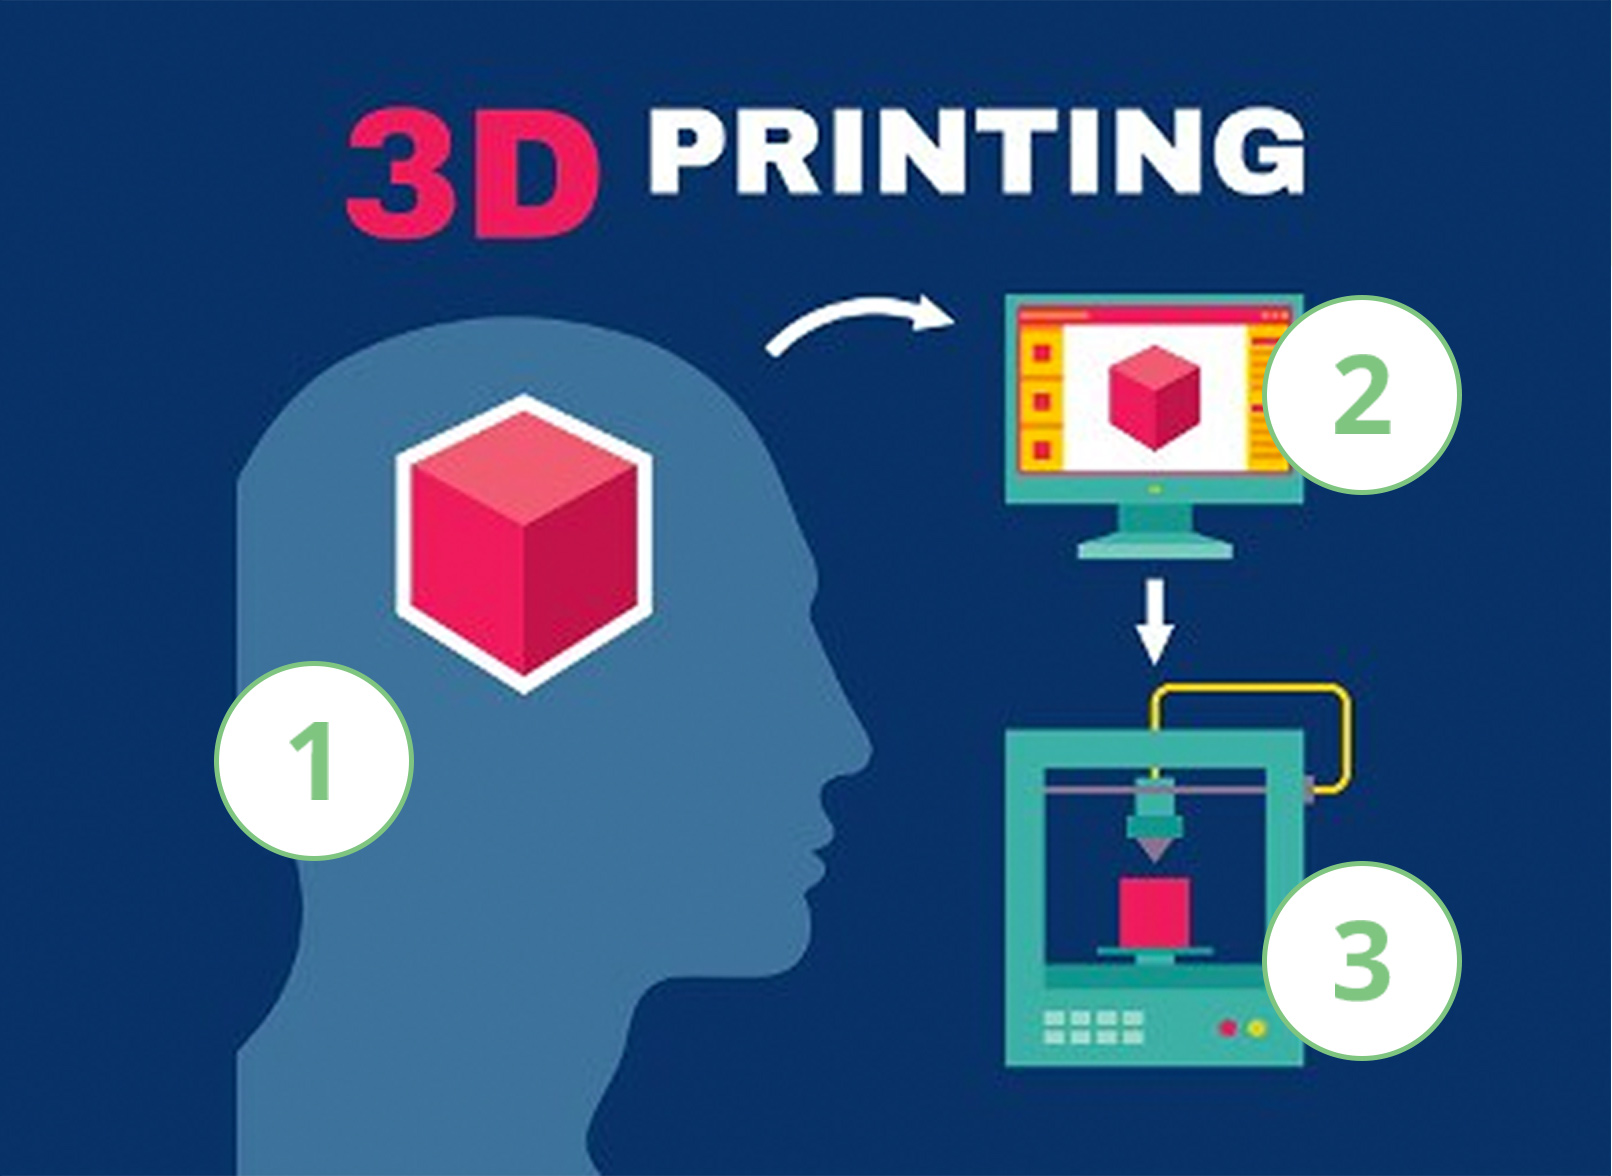
OK, let’s look at each of these in turn.
#1 Your 3D Object
The whole idea behind 3D printing is to print something you can’t find easily by other means. It’s even better to print something you can’t find at any store. In other words, it’s often a unique item that you want or need on demand. Once you know what you want to print, it’s time to go to the next stage — the drawing board.

#2 Your New 3d Model
Before your 3D printer can print your object it has to know what to print. This is where your 3D model or ‘blueprint’ comes to the rescue. These digital (computer-generated) files provide the exact instructions the printer needs to proceed. You can create 3D models from your computer using special 3D modelling software. Tinkercad is a good one, and there are a few other user-friendly programs out there as well. We’ll look at those in more details shortly.
You can also download 3D files from the internet, either for free or a fee. A couple of the better free sites worth looking at include Pinshape, Yeggi, and Thingiverse. Whether you create your own or choose something off the virtual shelf, you’re ready to go either way. See the bottom of this page for ideas.
#3 Access to a 3d Printer
It’s true—the price of 3D printers has fallen by a huge amount in recent times. All the same, most of us still can’t justify owning one. They’re most likely not going to get frequent use like regular ink printers. If money’s not an issue, then sure, go ahead and treat yourself. Otherwise, the most affordable way to print in 3D is to find someone with a printer. It’s should be easy to find quality 3D printing services in your local area. You may find that your school has one, or your local library. If they don’t they should be able to point you in the right direction, so check with them first. You can also do a simple search on Google like the one below (including quotes):

Not All 3D Printing is Equal
As with anything else, we have the good, the not so good, and the downright useless when it comes to 3D printing. There’s some truth in the saying, ‘you get what you pay for’. There are different technologies, different printing materials and different prices for 3D printers. That doesn’t mean you have to invest in the best of the best. If your 3D model is simple and straightforward, then a low cost printout may do just fine. If your 3D model is more complex, then you’re going to need something more proficient. If you’re unfamiliar with the 3D printing technologies, don’t skip the next section.
Don’t worry we’re not going to get too technical here. It’s important, though, that you understand the different printing types, at least at the basic level. This way you’ll have a better chance to make a well-informed decision when it’s time to transform your 3D model into a real, physical object.
The seven 3D printing technologies are:
- Selective Laser Sintering (SLS)
- Stereolithography (SLA)
- Fused deposition modeling (FDM)
- Digital Light Processing (DLP)
- Selective laser melting (SLM)
- Selective laser melting (SLM)
- Electronic Beam Melting (EBM)
SLS, SLA and FDM Explained
I’ve highlighted SLS, SLA and FDM in bold for a reason. These are currently the most widely used technologies in 3D printing, and the ones you will want to focus on. SLS and FDM both use a special type of softened or melted material to produce the individual layers (see below). FDM printers have a thermoplastic filament which heats up to its melting point. It then extrudes layer by precise layer to create the 3-dimensional object. It’s important to remember, not all printers and printing services are equal. That means the quality of the end product can vary depending on certain factors. These include your 3D model, the printer’s skill, the equipment, and the materials used.
FDM printers are by far the most popular. In fact, you will most likely use an FDM printer when you print your model.
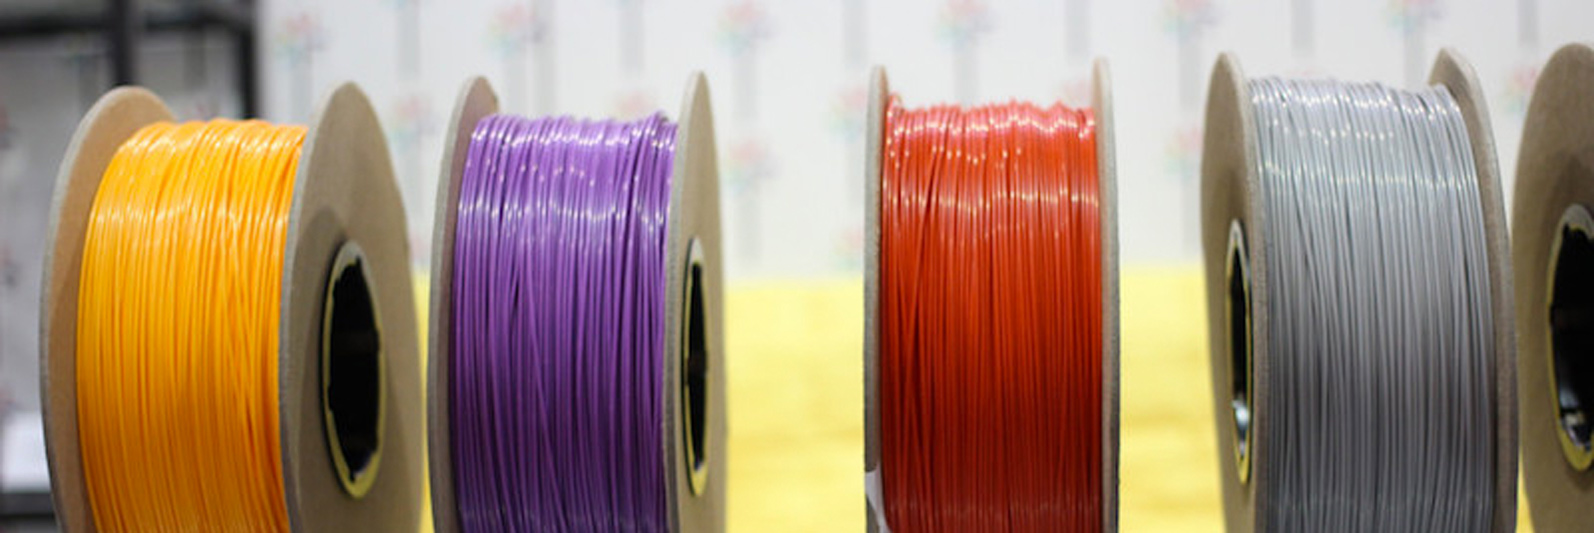
3D printing materials come in lots of different forms. This includes various metals, porcelain, and aluminum. As a beginner, though, there are two basic materials you need to focus on. The most popular choices for affordable 3D printing are:
- Acrylonitrile Butadiene Styrene (ABS)
- Poly Lactic Acid (PLA)
We call these materials thermoplastics. Once they reach a certain temperature they become soft and bendy. After they’ve had time to cool down they go rock hard and your object is ready to handle. You can usually find these materials in bags of 2.2lbs (1kg). An average price will be somewhere in the neighborhood of $30.
ABS
ABS is a petroleum-based plastic. It’s stronger and more flexible than PLA. Because of this, it’s better for complex objects and parts with interlocking pieces. Think of Lego bricks as one example. The main disadvantage with ABS, compared to PLA, is that it takes longer to cool down. Depending on the object, this could result in some warping issues. ABS also emits unpleasant fumes during the printing process. Some people find these fumes overwhelming. For any type of 3D printing, it’s always a good idea to work in a well-ventilated space.
PLA
PLA is a thermoplastic that comes from cornstarch. It’s a great first choice for beginners getting into 3D printing. The good thing about PLA is that it cools down nice and quick. This rapid cooling prevents any issues with the objects deforming. However, if you allow PLA to get too hot, then its low melting point could see the end product warp. It’s also not very good for working with parts that have interlocking components.
As you can see, both materials have their pluses and minuses. Once again, only you know what you want to print, the use of your end product, and the quality you expect.
- Printer speed
- Print resolution
- Total cost of the 3D printer
- Choice of materials
- Choice of colors
When it comes to quality, my advice is to not major in minor technicalities. Seriously, the best way for you to gauge the overall quality of any printer is to focus on its output. One way to do this is to simply view quality images on the internet, created using different 3D printers. You can examine them to see if the objects are at a standard you’re happy with. Note that bigger and sharper images make it easier to see the details close up.
Want to Buy Your Own 3D Printer?
Unless you plan to make some pocket money from your school buddies, you probably don’t want to buy a 3D printer. It’s much cheaper to use the services of a professional or experienced printer to do the work for you. If you want a printer anyway, for whatever reason, there are some things you need to know. The best way to make a good decision is to first make a note on the kinds of objects you want to print in 3D. The importance of quality is another consideration. Only you can answer these important questions. Therefore, it’s up to you to become familiar with the technologies and their capabilities before you or your folks go shopping.
If you’re still unsure after reading this guide, talk to a professional or read our latest tech reviews for further guidance. Your local librarian may be able to give you advice.
OK, here’s a list of seven things to consider before you buy your first 3D printer:
- What type of printer technology do you want?
FDM is popular among hobbyists - Build your own 3D printer as a project, or buy one?
You decide! - What’s your budget
(remember, the price usually determines quality) - Safety first.
Opt for printers that have enclosure around the heated print area - Know which materials are best suited for your printing projects
- Printer quality
Look for print resolution and printer speeds as indicators - Join an active online community to learn, swap and
share ideas with others
Making Your Own 3D Model
It may seem daunting to create your own 3D model, but don’t be put off. There are tens of thousands of downloads you can choose from if you need to. But the benefit of creating a 3D model from scratch is that you have total control over the final piece. Not only does this help to build your creative skills, but you get a product that’s 100% unique. There are some pretty nifty software programs out there that make this process a lot easier than it sounds.
Let’s look at one of the more popular ones called Tinkercad.
How Tinkercad Works

Tinkercad is an incredibly simple online 3D printing app that runs in your web browser. It’s free to register and you can be tinkering within minutes. Whether you’re a complete beginner or a seasoned professional, this program has something for everyone of any age. It works using a simple 3-step process as follows:
- Place your shapes
- Adjust your shapes
- Combine or group your shapes to create your model
You use the shapes to construct your 3D model in the user-friendly interface (screen). You can either use the ones provided by the program or import some of your own. It’s really easy to move and rotate these shapes into position as you build your 3D model. You then adjust them to precise locations and keep tweaking until you’re happy with your new design. You can attach all the shapes together as you go along. This helps to keep everything intact as you work on your design. The Tinkercad program is an incredibly fast way to learn as you go. I can promise you that it won’t take long to create your own personal 3D models, whatever your skill level.
If you’re not ready to create anything from scratch, that’s okay. You can choose to follow a quest, or design task on Tinkercad created specifically to teach you a set of new skills. Or if you want to, you can browse things that other people have made. This is useful for studying what they created and how they went about it. You also have the option to modify these existing designs for your own needs. Once you’re happy with your 3D model, all you have to do is save the file with a name—that’s it. You then reopen that file when you’re ready to send it to the 3D printer.
The video below covers all the basic features and functions of this incredible program:
The Tinkercad 3D Design Tool Tutorial
Other free programs that allow you to generate printable 3D objects include:

Google SketchUp

Autodesk 123D

3DTin
If you want to print from a predesigned blueprint, you can do that too. There’s a global community of designers on the web offering their designs. There are too many to list here, but here’s three to get your creative juices thinking: TF3DM, CGTrader CraftsmanSpace.
Yeah! It’s Time to Print from Your 3D Model
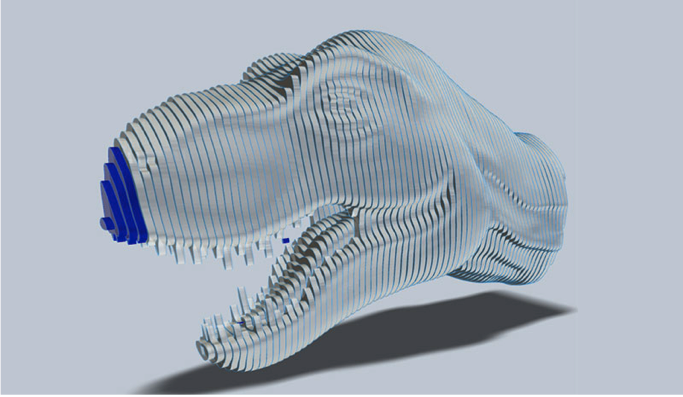
Okay, so you have your first 3D model and are eager to print it out. Before you can do that, you have to go through a procedure called slicing. Slicing is a process where you divide your digital model into many hundreds, or even thousands, of horizontal layers (see image below). You do this using special software, and it’s most likely a feature of your 3D modeling program, but make sure you check.
Some 3D printers will force you to use a specific slicing tool, so that’s something else you will want to check at the setting up stage. If you’re going to use free a 3D modelling software program, make sure it’s compatible with the 3D printer you intend to use. Today, most 3D creation and editing programs seem to work well with the majority of 3D printers on the market, but check anyway. Like everything else about 3D printing, slicing is not a complicated task once you become familiar with it.
Once your 3D model is sliced, it’s ready to send to the 3D printer. How you do this depends on the printer type and the model. Common options are via USB, WiFi, MicroSD card and others. That’s about it. After you upload the file to the printer and press the print button, the printing begins. You can then watch in awe as it creates your 3D object layer by layer, reading every single slice of the two-dimensional image. If it’s a big job, you’ll want to go away and come back later, checking in from time to time to makes sure everything’s fine.
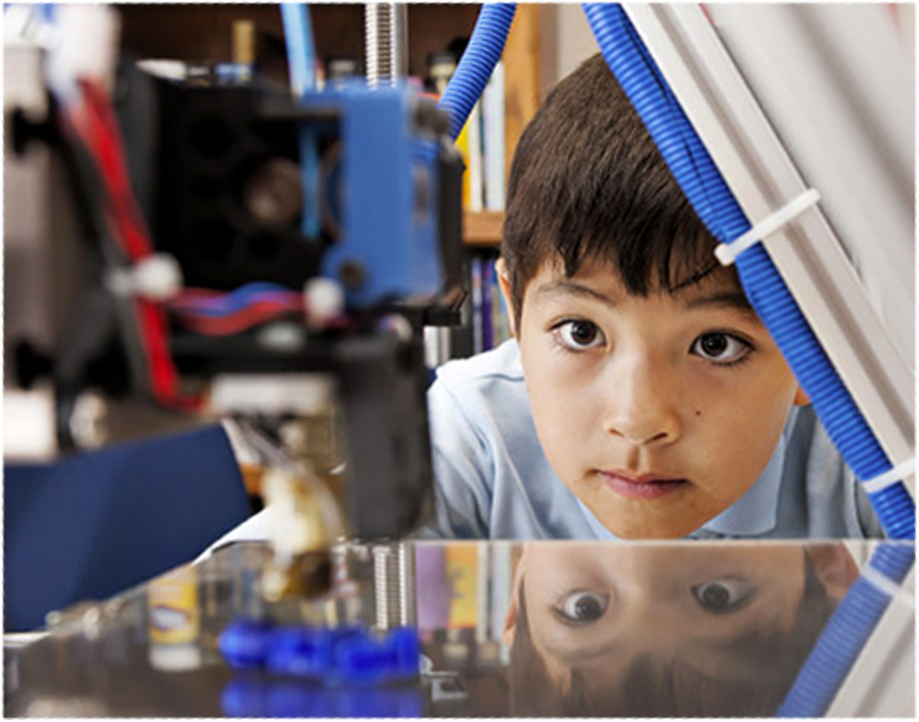
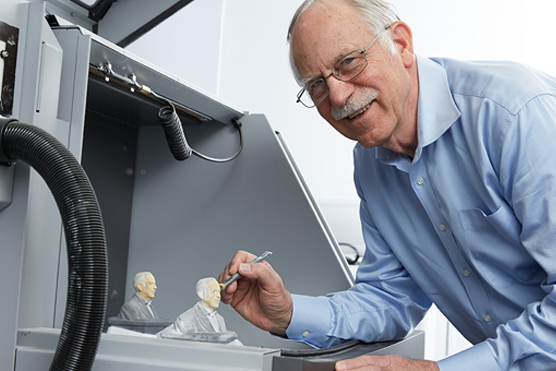
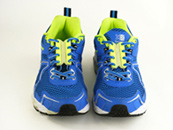
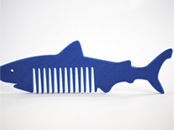
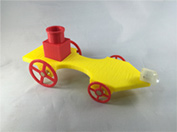
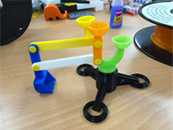
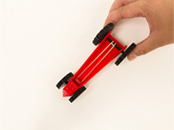
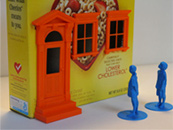
Cool Things to Print with 3D Technology
There are so many cool and useful things to print in 3D. In fact, the only limitation is your imagination. There are toys, game pieces, custom jewelry, and bookstands. You can design and print drawer knobs and decorative door handles, or even make a new shower head. When you become more adventurous the sky really is the limit. You can create a groovy iPhone holder or an iPad stand. How about a 3D printed guitar, a camera lens, a set of coffee cups, or a pair of high heels shoes for mom?
The images below show you just a few of the many thousands of useful and enjoyable objects you can create using 3D printing


The Conclusion
Although smaller and consumer-friendly 3D printers are becoming more popular, they’re not commonplace yet. It won’t be too long before they are though. This means that 3D printing is no longer the privilege of the few. Schools, colleges, and some libraries are also investing in this developing technology. That’s great news for everyone!
Remember, you don’t have to own a 3D printer to print 3D objects. You can if you want to, but it’s not necessary. Free 3D modeling software is easy to use for creating your own files. All you do then is find someone or some outfit that can bring your 2D digital files to life. How cool is that?